

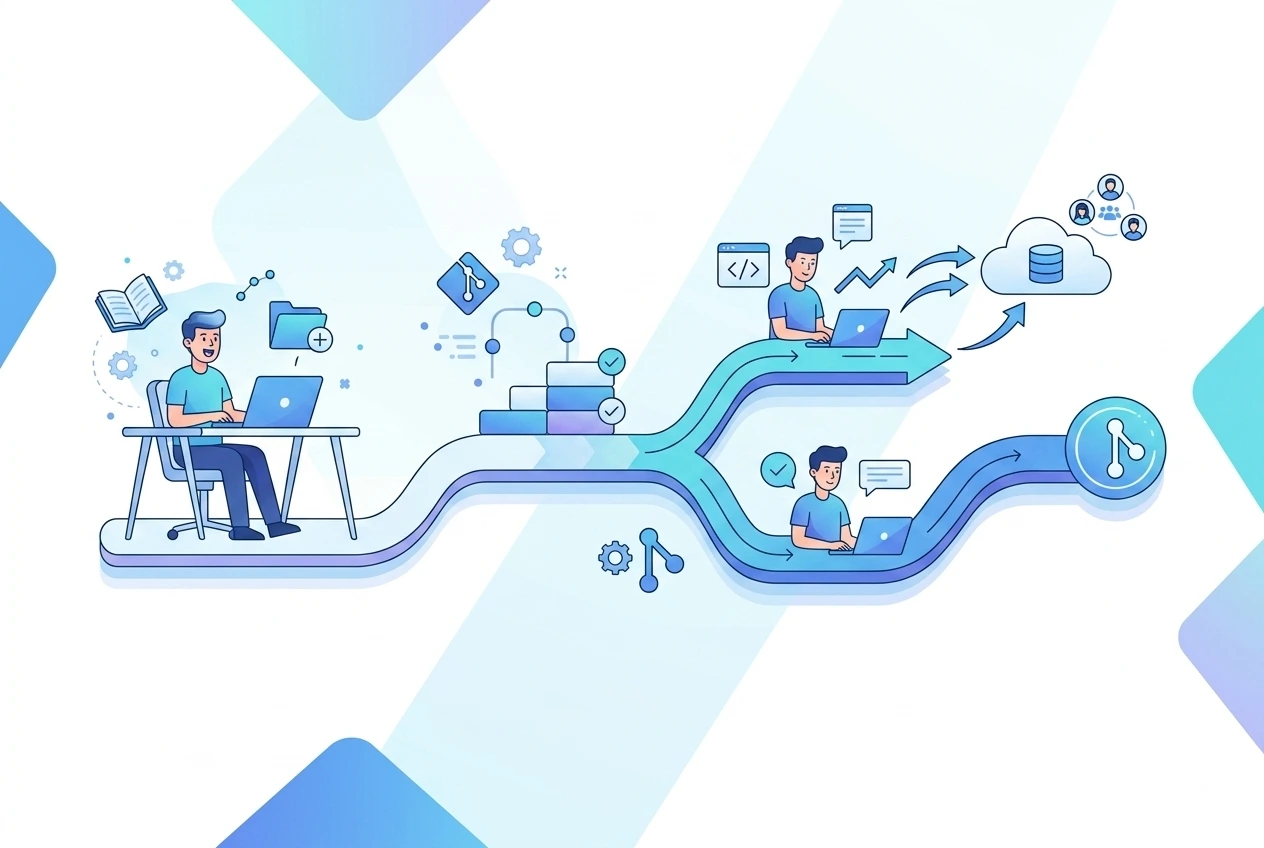
Here are some beginner’s tips for using GitHub. Have you ever worked on a coding project, alone or with a team? If so, you’ve probably run into situations like these
If yes, then don’t get upset because such cases were the reasons for creating Git. In this blog post, I am going to tell you what Git is, why it is useful and some commands that you can use.
What is Git?
This is a version control system; that means it allows you to track the changes in the files of your project. Git gives you opportunities such as:
The Git was invented by Linus Torvalds in 2005 (the same person who invented Linux). Git is used by almost all software projects nowadays.
What is the difference between Git and GitHub?
This software tool is installed on your computer and tracks changes in files. GitHub (GitLab, Bitbucket and so on) is the website where you host your Git repositories. In other words, Git is an engine, and GitHub is a garage where you keep your car.
Setting Up Git
Before doing anything with your code, configure your Git first and say it who you are:
bash
git config –global user.name “Your Name”
git config –global user.email “[email protected]”
This data will be used in all of your commits.
Standard Git Workflow
This is the standard workflow that you will use most of the time:
1. Create or Clone a Repository
Create a new project:
bash
git init
Or clone a repository that already exists:
bash
git clone https://github.com/username/repository.git
2. See the Status
Find out which files are changed:
bash
git status
3. Stage the Changes
Inform Git about your next commit:
bash
git add filename.py # add a particular file
git add. # add all files
4. Commit Your Changes
Commit your changes using a commit message:
bash
git commit -m “User login feature added”
5. Update the Remote Repository
Push your commits to GitHub or another remote repository:
bash
git push origin main
6. Get the Latest Code
Get the latest code from remote:
bash
git pull origin main
Branching: Experiment Without Fears
Branching is what makes Git different from other systems. This allows you to try out something new, create a feature or experiment or fix a bug without damaging your codebase.
bash
git branch feature-login # create a new branch
git checkout feature-login # switch to it
# Or do it in one command:
git checkout -b feature-login
After you finish working on your task and test your branch, you merge it:
bash
git checkout main
git merge feature-login
Fixing Mistakes
Any mistakes in Git can be undone. Here are some commands that might help with it:
bash
git checkout — filename.py # undo changes to an unstaged file
git reset HEAD filename.py # undo staging of a file
git revert # undo a specific commit
git log # display commit history
Some Best Practices
Commit often, in small pieces. Each commit has to represent one logical change. The commit messages must be descriptive. “Fix bug” won’t make any sense to you after six months, but “Fix null pointer exception in payment validation” does.
Make use of branches for anything apart from a trivial change. Coding should never be done in the main branch. Before making any commits, always ensure that you pull any changes made in the remote first. It will assist you in avoiding any potential conflicts.
Additionally, keep your .gitignore file up-to-date with unnecessary files.
Learning Git is a rather complicated affair to start with, considering the several terminologies used such as staging, committing, branching and merging. However, once you become familiar with the process of editing, staging, committing and pushing, the whole process becomes easier.
First, begin with some basic things: create a repository sample, practice committing, branching and merging. The more you practice, the better you’ll become at it, until one day you can’t imagine how you could have survived without it.